
Appointment Reporting
The Reporting Tab includes a specific report on your appointments. Using various available filters, you can view the status of appointments, compare the booking channel and source, and export the data if you need a spreadsheet/list of the information. Follow these simple steps to learn how:
Step 1: Accessing The Report
Navigate to the Reporting Tab
Choose “Appointment Report”
Select your desired filters for a specific calendar, appointment created on/booked for, and timeframe.
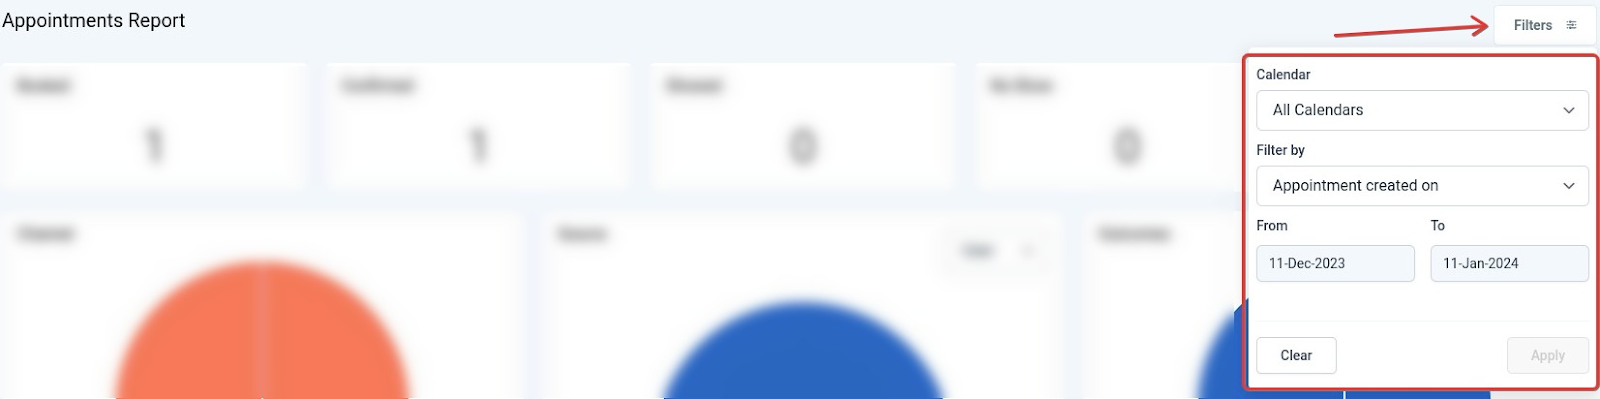
Click “Apply” to show the specific data you’ve chosen.
Step 2: Viewing The Report Data
In the top row you’ll see boxes for Booked, Confirmed, Showed, No Show, and Canceled appointments.

Note: You can see in the Canceled box the up and down arrows. Click on them and you can also see the numbers for the status Invalid and New.
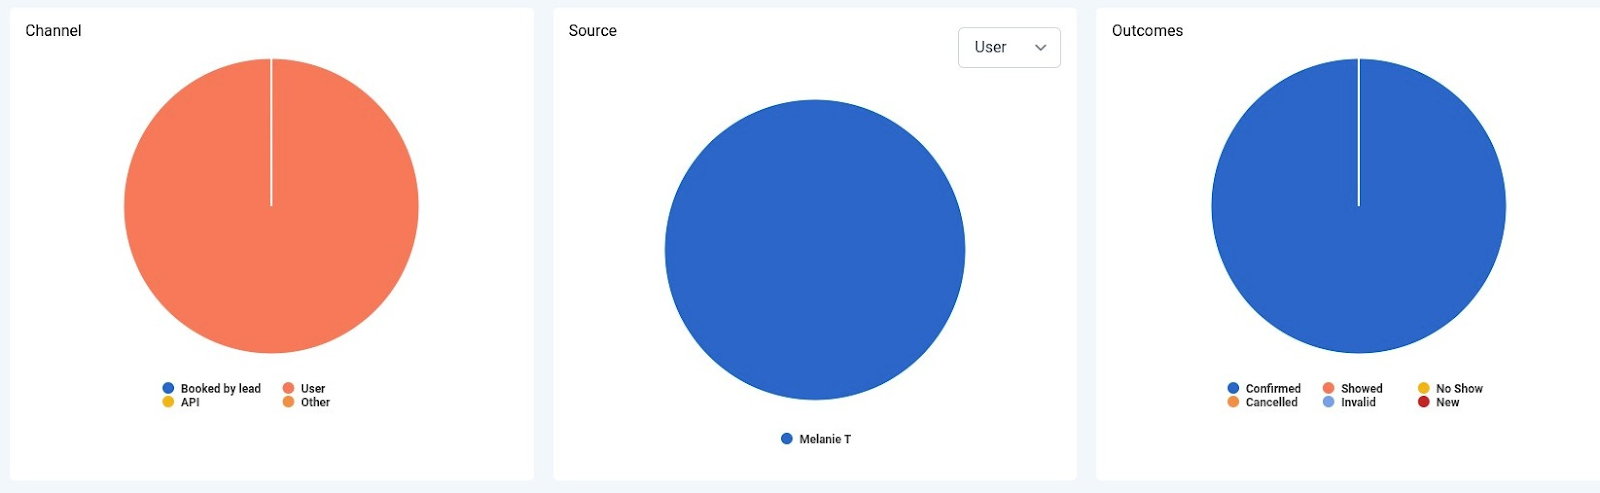
In the 2nd row, you can view the pie charts for the booking channel, the appointment source, and outcomes.
The 3rd row provides a list view of your appointments.
You can select a specific status from the dropdown menu to view only those appointments.
Clicking “Columns” will allow you to change the display.
The “Export” button will allow you to export a list of the data.