Social Planner Notifications
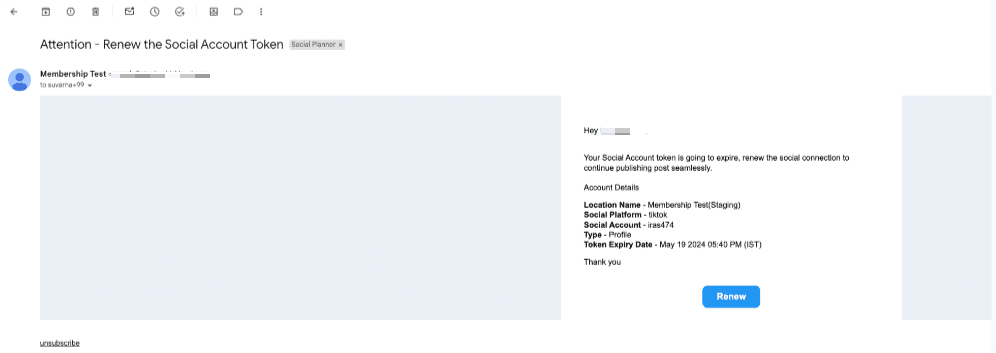
Experience enhanced control and efficiency with notifications for various account activities within Social Planner. From post approvals to account expirations, stay informed and empowered to manage your social media presence effectively. Explore customizable templates and streamlined settings, designed to elevate your social planning experience.
Follow these simple steps to proceed to social planner notifications
How to Access Notifications for Social Planner:
1. Navigate to Marketing
Open the Marketing tab in BILT platform.
2. Go to Social Planner
Select Social Planner from the options.
3. Open Social Planner Settings
In the Social Planner, find the gear icon (social planner settings) located beside the New Post button.
Click on the gear icon to access the settings and manage notifications.
4.Access the Notification Tab
In the Social Planner settings, click on the Notification tab to manage your notifications.
Steps to Edit Notification Settings for Account Pre-Expiry
1. Navigate to Notification Settings
Go to the settings where you manage notifications.
2. Edit Pre-Expiry Notification
Find the account pre-expiry notification setting.
Click on the pencil icon to edit this notification.
3. Select Sub-account Users
Choose the sub-account users who should receive the notification.
4. Set Reminder Frequency
Specify how often the user should be reminded to refresh the account. Note that users can refresh the token by visiting the integration page.
5. Choose Notification Template
Select a notification template. You can choose a different template other than the default one.

Steps to Edit Notification Settings for Account Expired
1. Navigate to Notification Settings
Go to the settings where you manage notifications.
2. Edit Account Expired Notification
Locate the account's expired notification setting.
Click on the pencil icon to edit this notification.
3. Select Sub Account Users
Choose the sub-account users who should receive the notification.
4. Set Reminder Frequency
Specify how often the user should be reminded to reconnect the token.
5. Choose Notification Template
Select a notification template. You can choose a different template other than the default templates.
Steps to Edit Notification for Request for Approval
1. Navigate to Notification Settings
Go to the settings where you manage notifications.
2. Edit Request for Approval Notification
Locate the email notification for a request for approval of a scheduled post.
Click on the pencil icon to edit this notification.
3. Choose a Notification Template
Select a notification template. You can choose a different template other than the default templates.
Steps to Edit Notification for Approved Post
1. Navigate to Notification Settings
Go to the settings where you manage notifications.
2. Edit Approved Post Notification
Locate the email notification for a scheduled post that has been approved.
Click on the pencil icon to edit this notification.
3. Choose a Notification Template
Select a notification template. You can choose a different template other than the default templates.
Steps to Edit Notification for Rejected Post
1. Navigate to Notification Settings
Go to the settings where you manage notifications.
2. Edit Rejected Post Notification
Locate the email notification for a scheduled post that has been rejected.
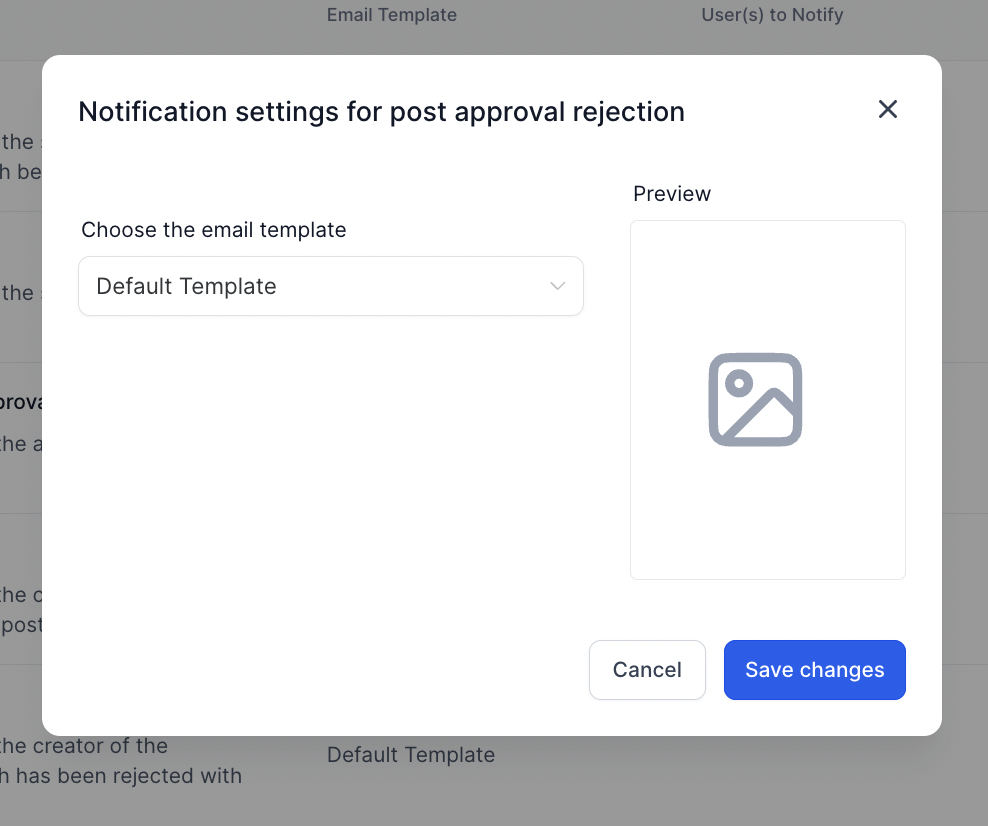
Click on the pencil icon to edit this notification.
3. Choose Notification Template
Select a notification template. You can choose a different template other than the default templates.

Steps to Edit Notification for Failed Post
1. Navigate to Notification Settings
Go to the settings where you manage notifications.
2. Edit Failed Post Notification
Locate the email notification for a scheduled post that has failed.
Click on the pencil icon to edit this notification.
3. Choose Notification Template
Select a notification template. You can choose a different template other than the default templates.
FAQ
How to Change the Default Email Template for Notifications
1. Navigate to Email Templates
Go to the Emails section in your application.
Select the Template option.
2. Create a New Template
Click on the New button.
Choose Email Marketing Template from the options.
3. Load a System Template
When the template library opens, look for the System Template option on the left side.
Select a system template and load it for editing.
4. Edit the Template Content
Customize the content of the template to suit your needs.
5. Apply the New Template to Notifications
Go to the Social Planner notification settings.
Change the default template to the newly edited one.
